Hand dipped beeswax candles are a beautiful way to surround your family with warmth and comfort during the cold winter months. They're a fun project and will save you money, versus buying good quality ones. They also make a wonderful gift for Christmas or birthdays!

I can't express how much I love the warm glow of a candle.
When I was in high school, I worked at a home goods store. I used my employee discount to buy a LOT of overpriced, overscented candles.
I wasn't aware of how bad they were for me, but I sure enjoyed the ambience they created.
Now that I'm aware of the potential health concerns and I really care about that, I make my own candles from pure beeswax! It's an easy, fun, non-toxic and cost-effective way to continually have a candle burning in my life.
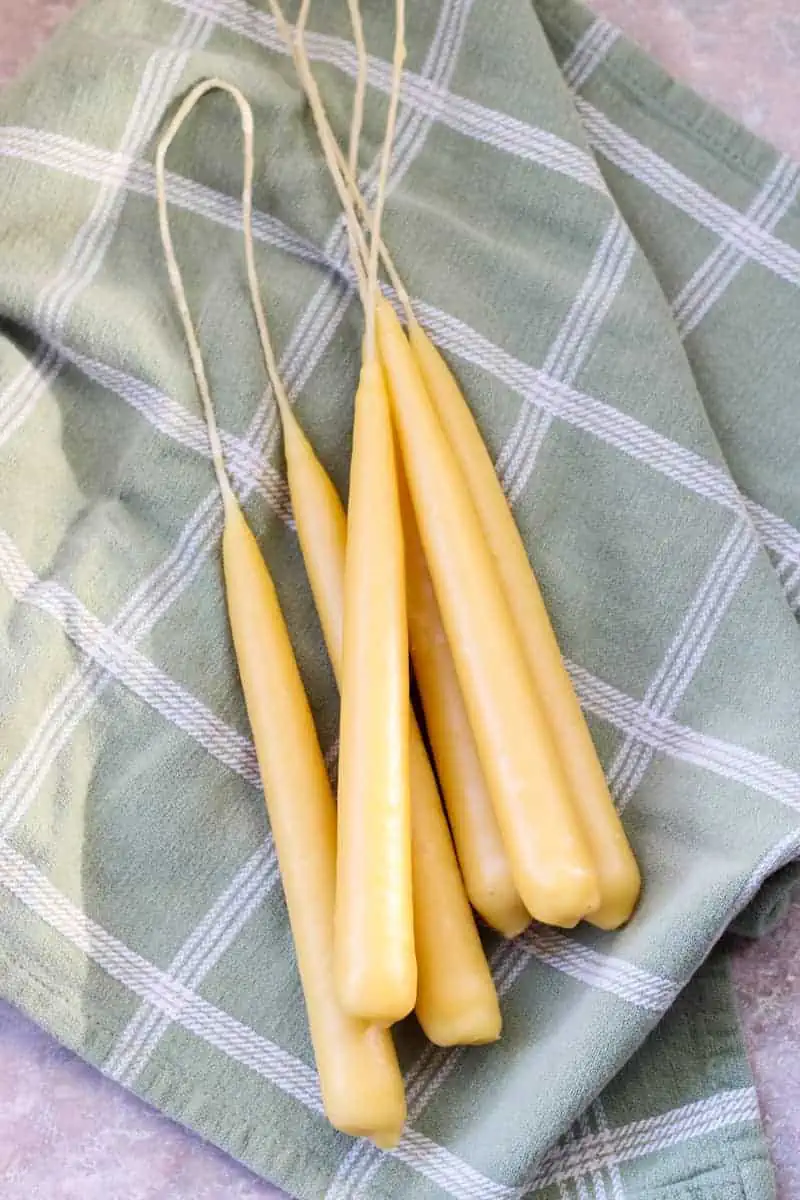
I made 22 beeswax tapers and next time I'll probably make more. You can't have too many!
I'm thinking it would be a fun tradition to do annually in October or November, so we're always set for winter.
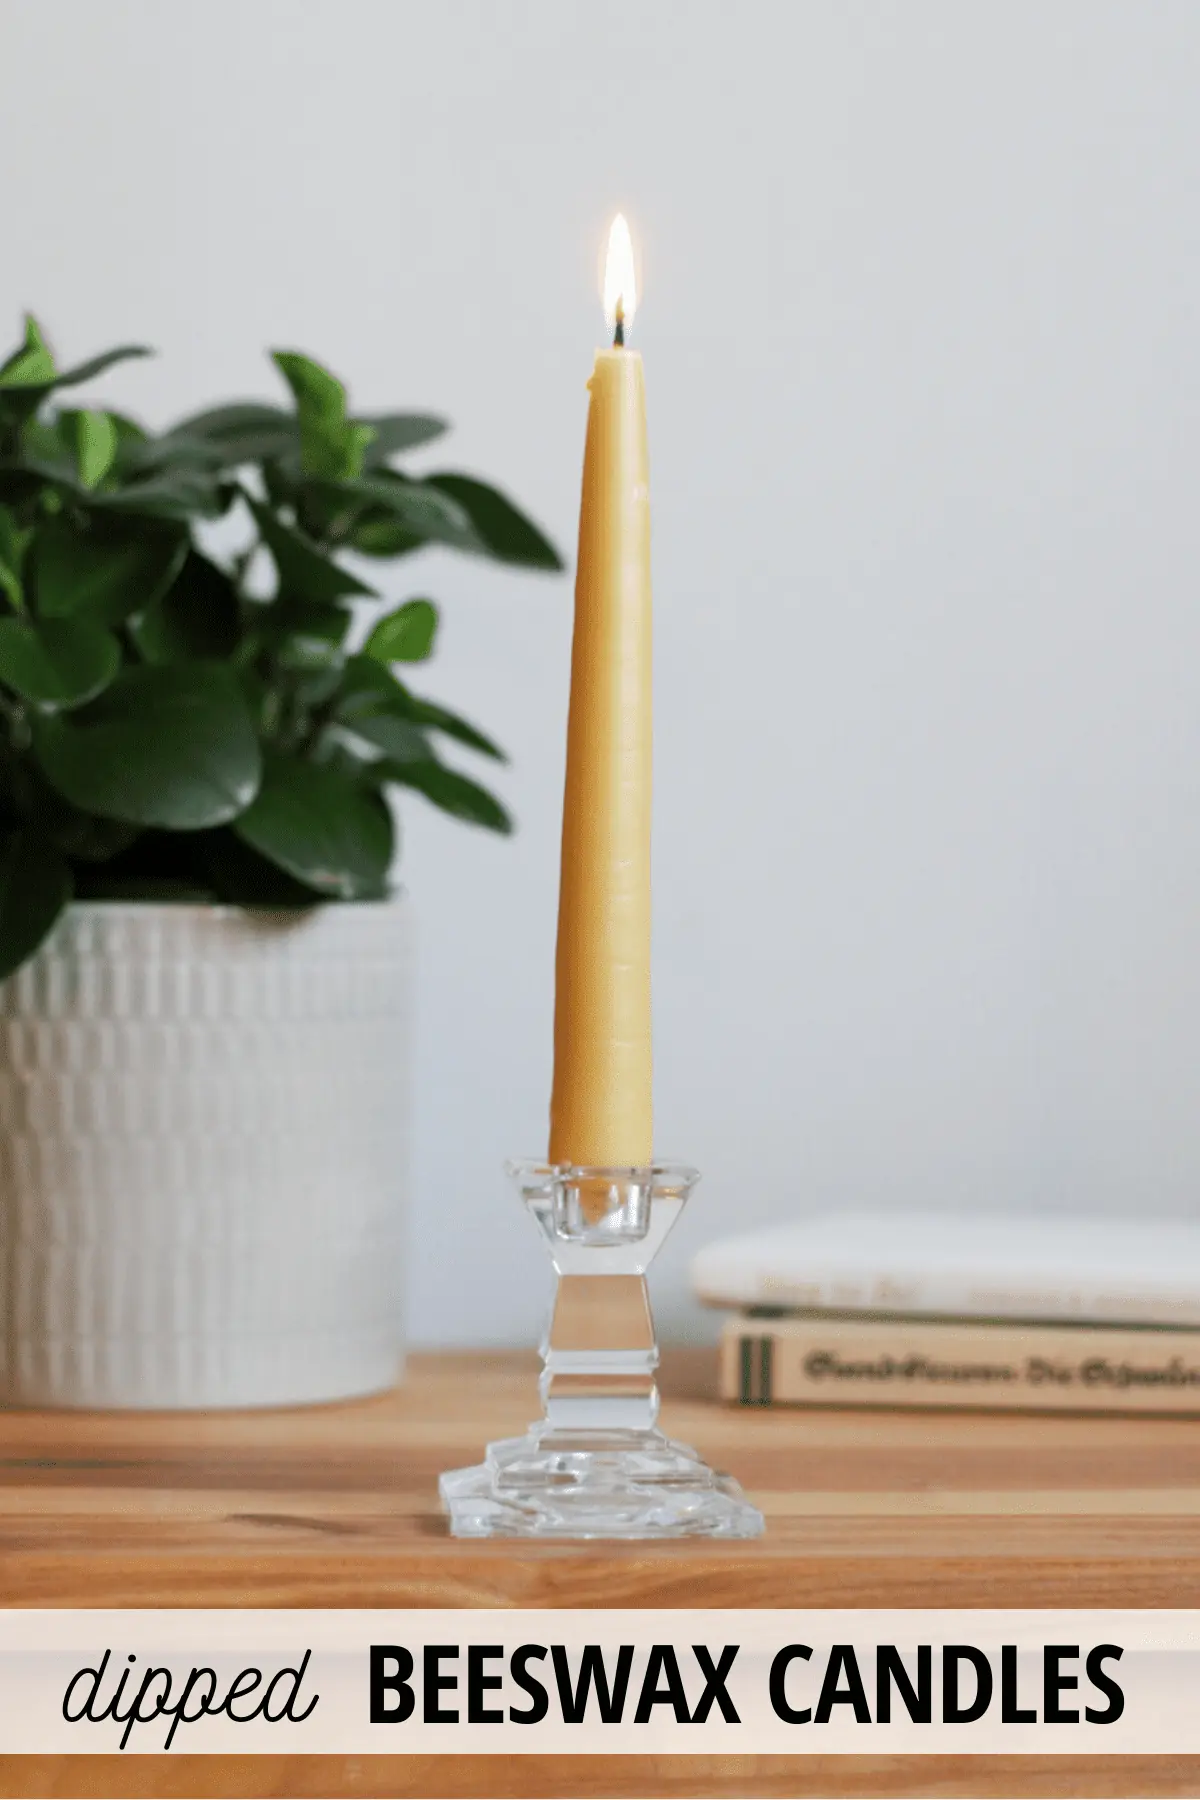
Why Make Your Own Beeswax Candles?
If you're already into making things at home like lip balm, moisturizer and deodorant, you'll likely already have beeswax on hand! DIY beeswax candles are much cheaper than premade beeswax candles and they are a lot of fun to make.
If you want more candles in a short amount of time, making pure beeswax candles in containers, rather than dipped ones, will be a faster process. Learn how to make wicks and container candles.
Since making taper candles does take a long time (especially if you make the amount that I do), I suggest listing to podcasts, tuning into webinars or just listening to fun music while you work.
Why Use Beeswax Instead of Other Wax?
Beeswax candles are the only non-toxic candle option.
Paraffin wax candles release numerous toxins and chemicals into the air, even if there is no added fragrance or dyes!
Soy wax candles are all natural, however, require a preservative or they will spoil. Many of them contain hardeners, additives and bleach. They also release more black soot than beeswax candles, which is evidence of toxins.
If you're going to buy beeswax candles, make sure 100% beeswax is used. Some companies will cut the beeswax with other wax to cut costs.
Read more about the benefits of beeswax candles here!
As a side note, using a pure cotton wick is the healthiest cost-effective wick option.
Cost of Making Beeswax Candles
The cotton string needed is very inexpensive. Get a full roll for $5-6 on Amazon and it will last forever and can be used for many, many different things.
Pure beeswax isn't as cheap as paraffin and soy, but the more you buy, the more you save usually. Sperry Beeswax is a company that's high quality at a good price. You can buy 8 lbs of wax for $75, which is less than $10 a pound! You could make over 50 dipped candles with all that wax and have a lot leftover for container candles or other projects.
In the past, I've bought pure beeswax from a local beekeeper and that cost about $10/lb, which is still a great price.
What Do I Do With the Leftover Wax?
Never pour melted beeswax down the drain, as it will cause clogging. Here are some ways to save your melted wax for future use:
- Be prepared to make tealights or other poured candles with the leftover wax. Have some jars or other containers ready to stick a wick in and pour the leftover wax. Make sure the containers are heatproof. You can often find some nice crocks and jars for this at the thrift store.
- Keep extra wax in the jar or container you used for dipping candles, then remelt and add more wax whenever you are ready to make candles again!
- Pour the excess wax into silicone molds and allow to set. Pop them out and keep in a container or ziploc bag. These smaller pieces can easily be chopped up for use in DIY lotion, deodorant, lip balm, salve, wood polish and more!

Tools You May Need
Large pot (I used my canning pot)
Metal trivet (I use the one from my Instant Pot)
Glass jar or metal container (that you can devote to using for melting wax)
Large glass jar
Laundry drying rack (optional, I used it to hang the candles to dry, but you could hang them somewhere else)
How to Make Dipped Beeswax Candles
Materials:
3-4 lbs pure beeswax
Cotton string (about 1mm thick)
Small screws or nuts (to use as weights)
Instructions:
When you are preparing to make candles, remember that wax is very difficult to clean, so protect your surfaces for easier cleanup and designate the tools you are working with for wax use only, so you don't have to clean them perfectly.
Prepare the area where you will hang the candles. I set up my laundry drying rack by my stove and wrapped the bars I would be hanging the candles on in a loose layer of foil, then wrapped the bars underneath in plastic wrap. I did this so that if any wax dripped there it would be easy to clean up by removing the foil and wrap.
Under the laundry rack, I placed a large piece of cardboard to catch any wax drips that made it to the floor. You could also protect the floor with some paper towels or more plastic wrap if you don't have cardboard.
Wicks
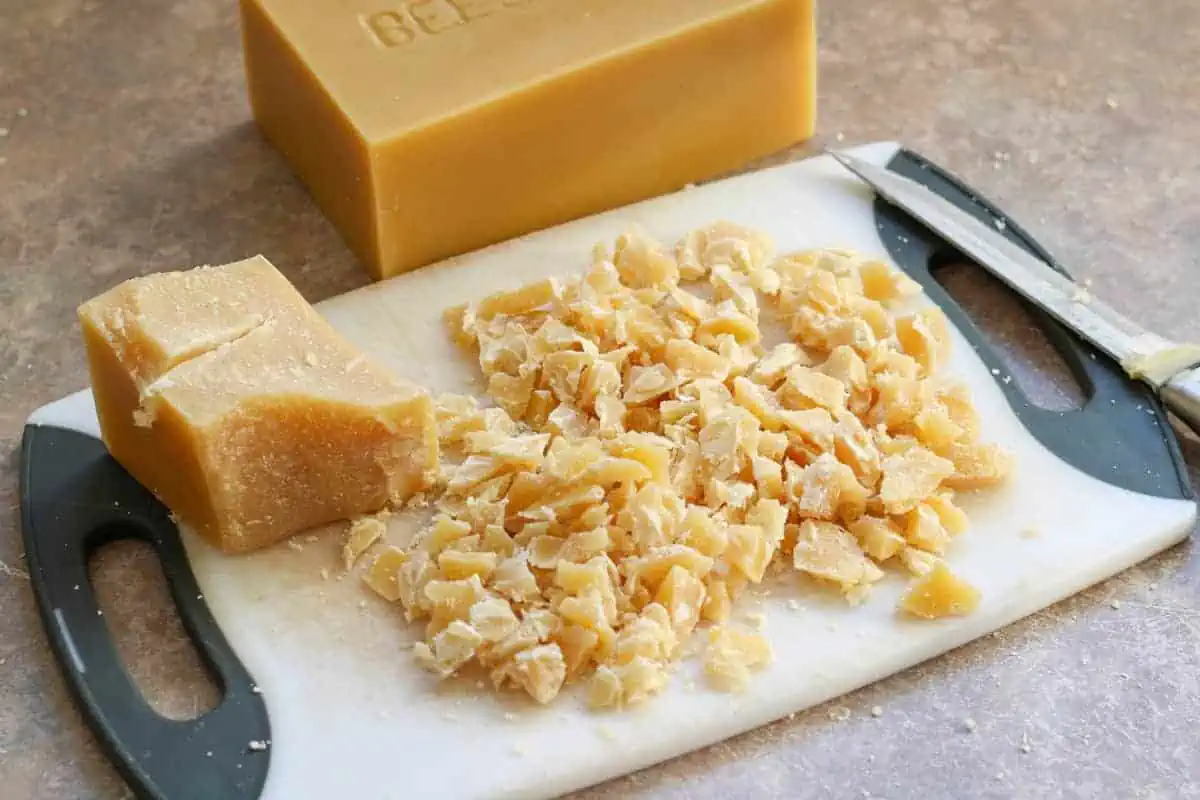
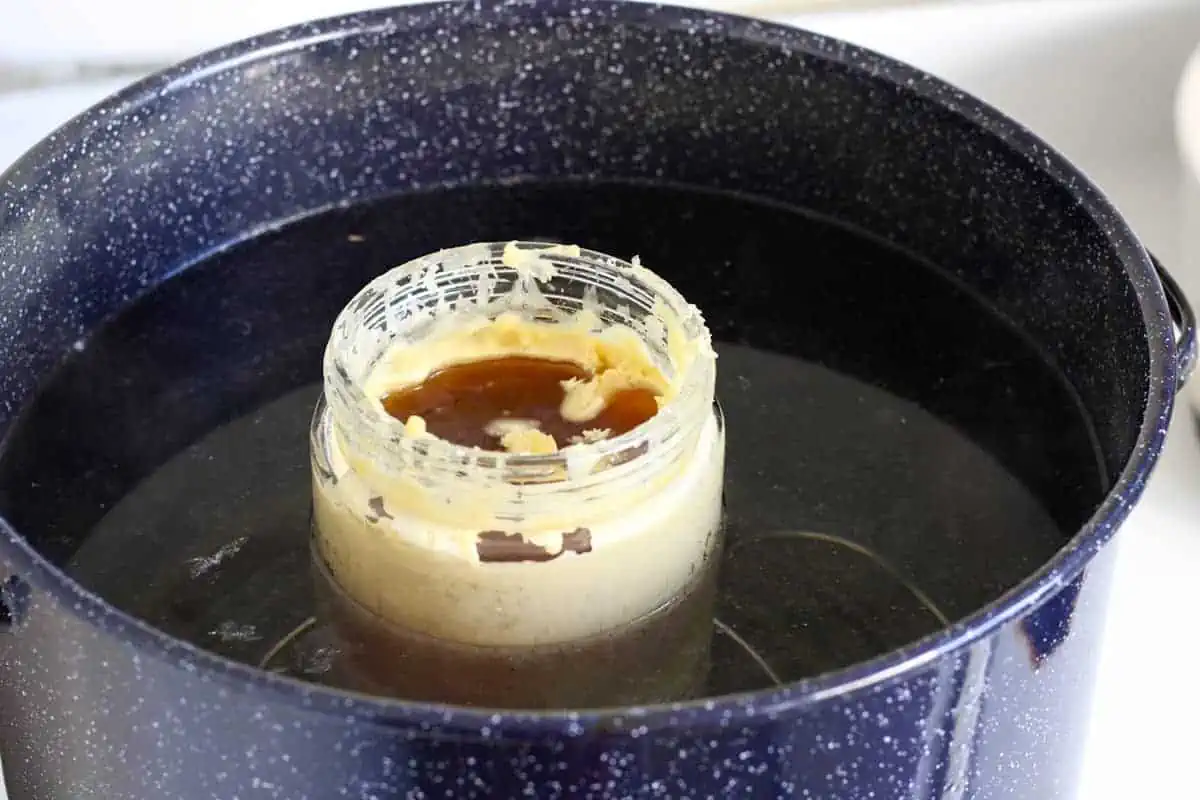
You don't need much wax for the first step of making the wicks. I use about ½ cup. If you're using a block of beeswax, cut it into small pieces and place them in your jar. If you're using beeswax pellets, you can just place them in the jar.
Place your jar on the trivet in your pot. Fill your pot with water just over the level of the wax in the jar. The trivet keeps your jar away from direct heat, creating a double boiler effect and decreasing the chance the jar will crack.
Carefully place the pot of water on a large burner and turn to medium heat.
Prepare your string while the beeswax melts. The length will depend on how tall your container is and how long you want your candles to be. I cut my strings about 20 inches long. This was enough for two candles about 8 inches tall, plus about 4 inches for me to hold in the middle while dipping.
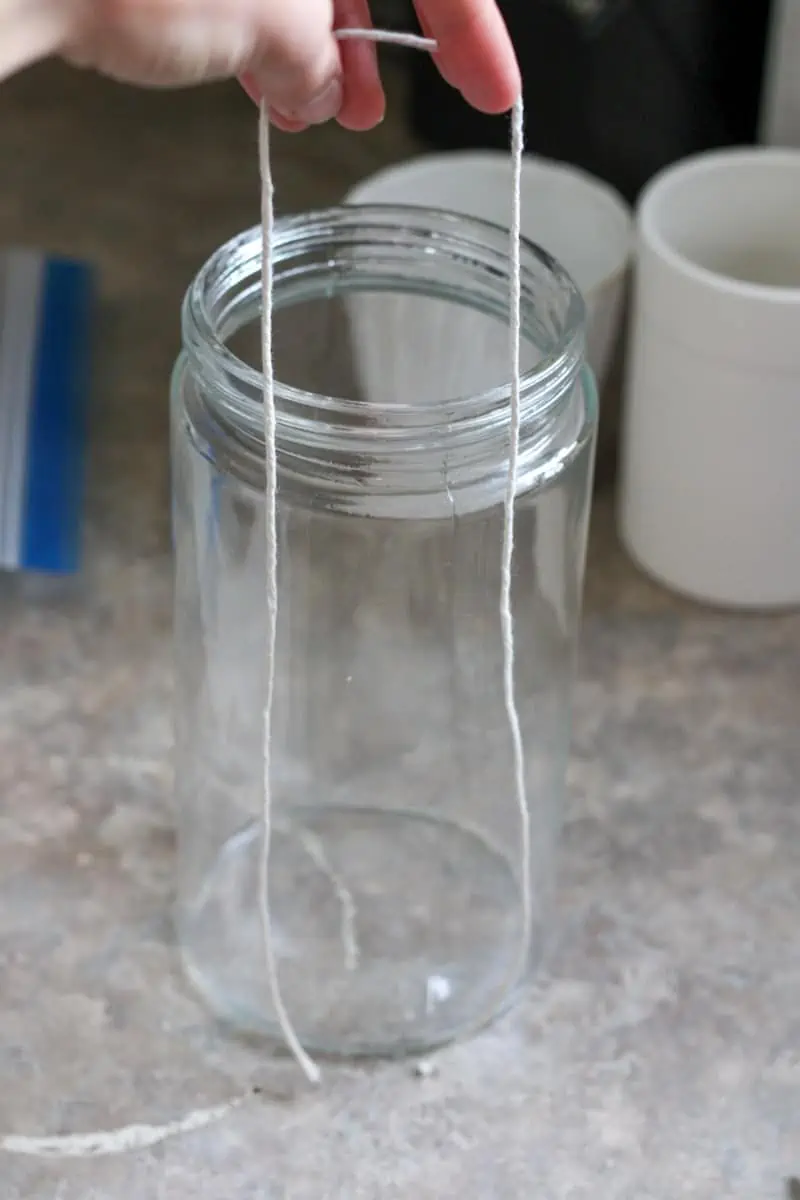
Tie the screws to both ends of all your strings. This weighs down the strings which results in straight candles.
When the wax is melted, drop all the strings in and allow them to soak for at least one minute.

Grab the tongs and carefully pull out one string at a time, quickly hanging it on the prepared rack. Hang them in the middle so both sides are an equal length.

The cotton candle wicks will set fairly quickly, but you will be able to straighten them out with your hands once set if need be.
Dipped Candles
Add the rest of your wax to the jar. Add more water to the pot so that again, the water level is the same as the wax level in the jar. This may take a while to melt, especially if you're using chunks instead of pellets, so just keep that in mind.
Fill a different large glass jar with cool water and place it in close proximity to your pot.
Once the wax is fully melted, you can begin the candle making process.
Take one wick string, holding it in the middle and dip it into the wax, straight down to the bottom of the jar, then pull it straight up. Immediately dip it in the same manner into the cold water.
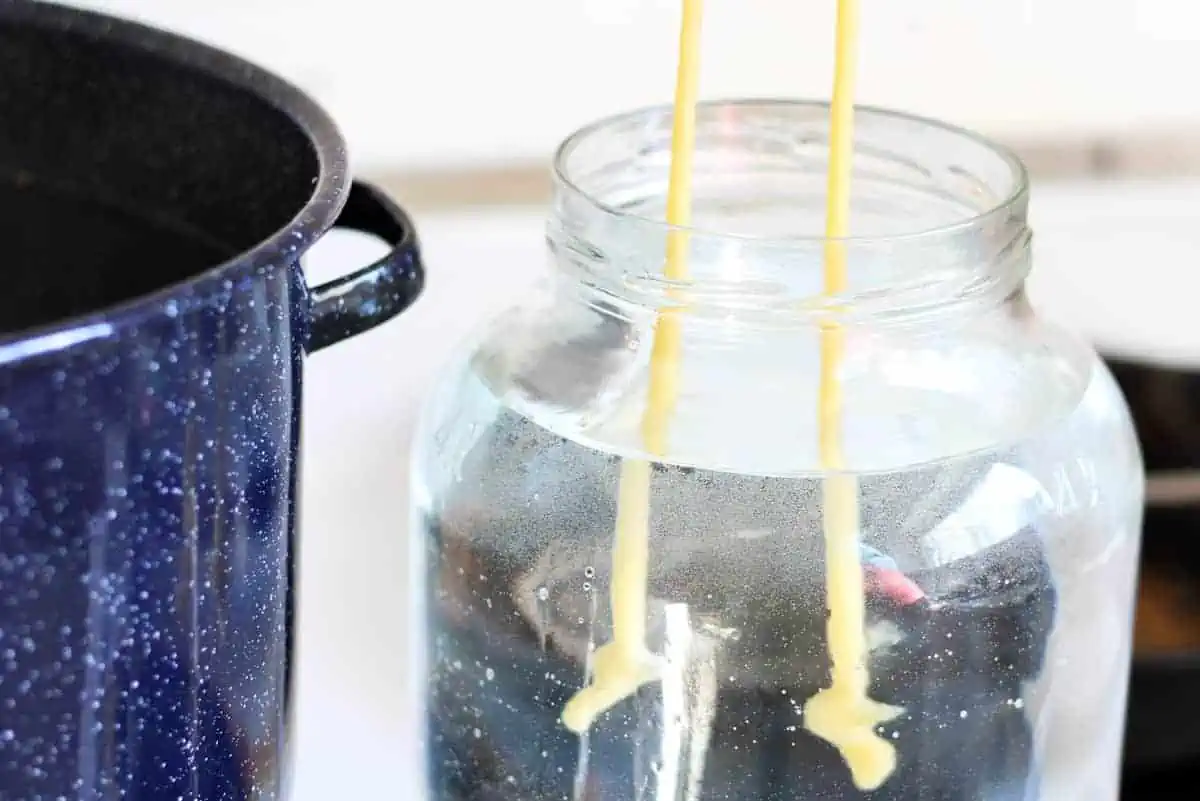
Repeat again, dipping in the wax, then water. Repeat this process 5-6 times, then use a knife or scissors to cut off the screw at the bottom of each candle. You no longer need it to weigh down the candle.
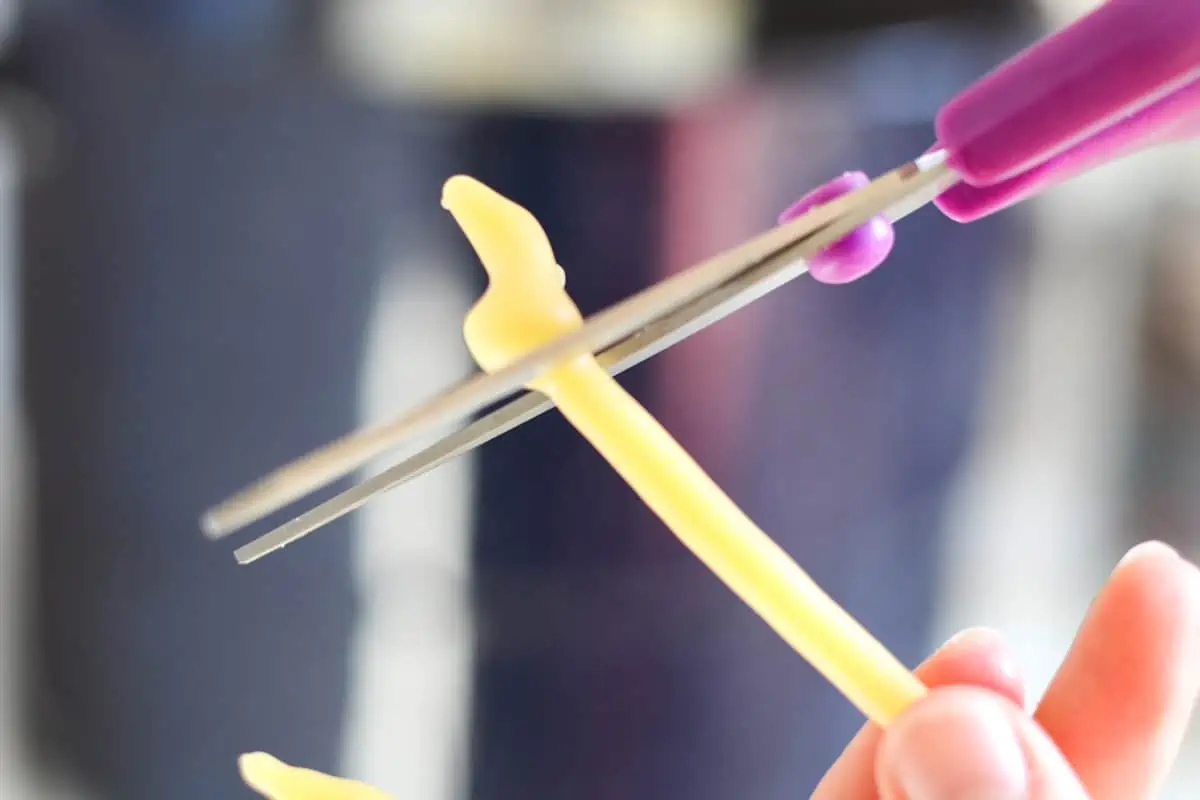
Continue that back-and-forth dipping process until your candle is your desired thickness. Keep a taper candle holder close by so you can test to see if your candles fit snugly in.
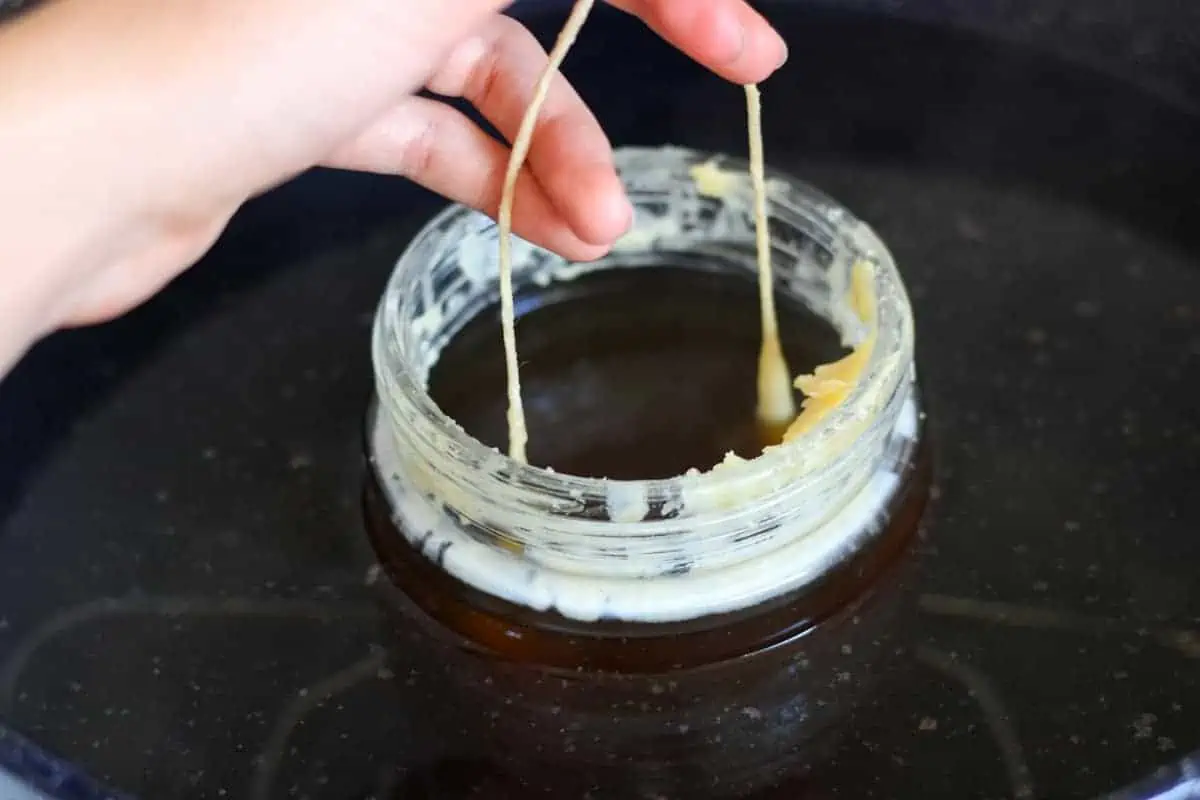
You will need to trim the bottom of your candles with a knife once or twice to flatten them so they can sit in the holder.
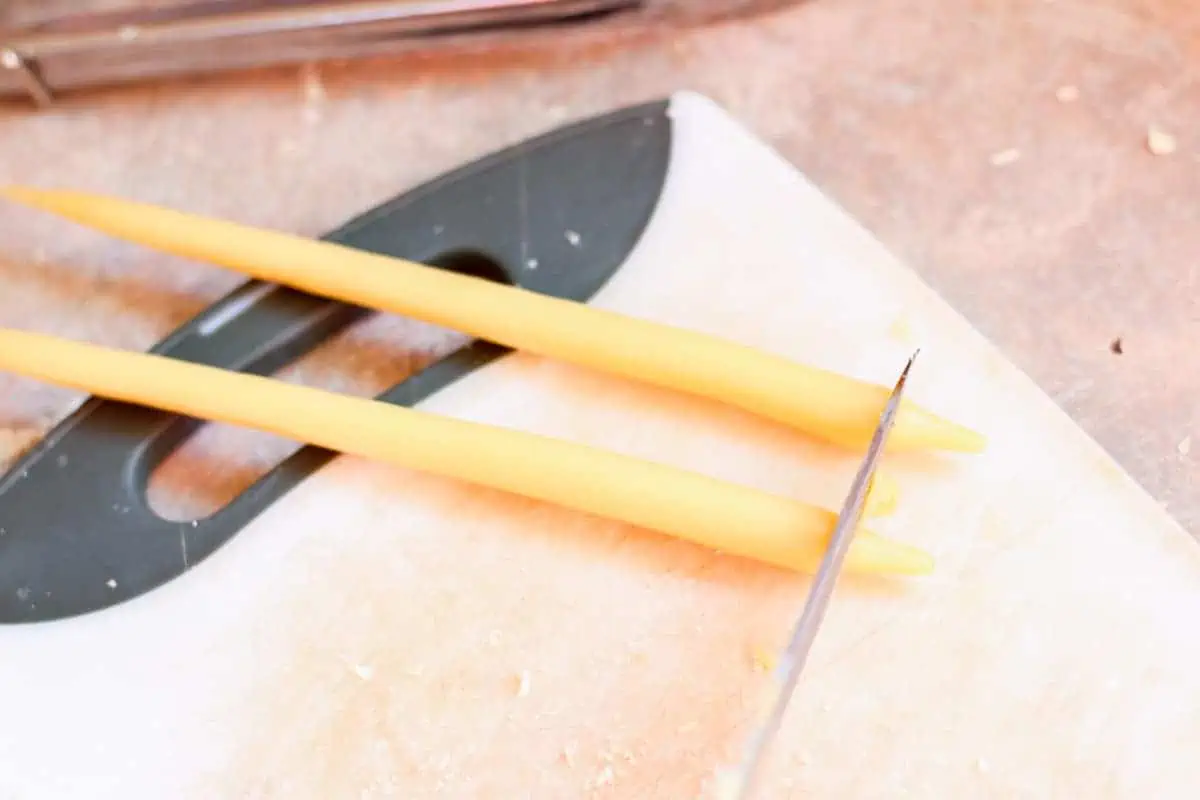
Once you are happy with the size of the candles, place them again on your drying rack to cool completely. Move on to the next wicks.
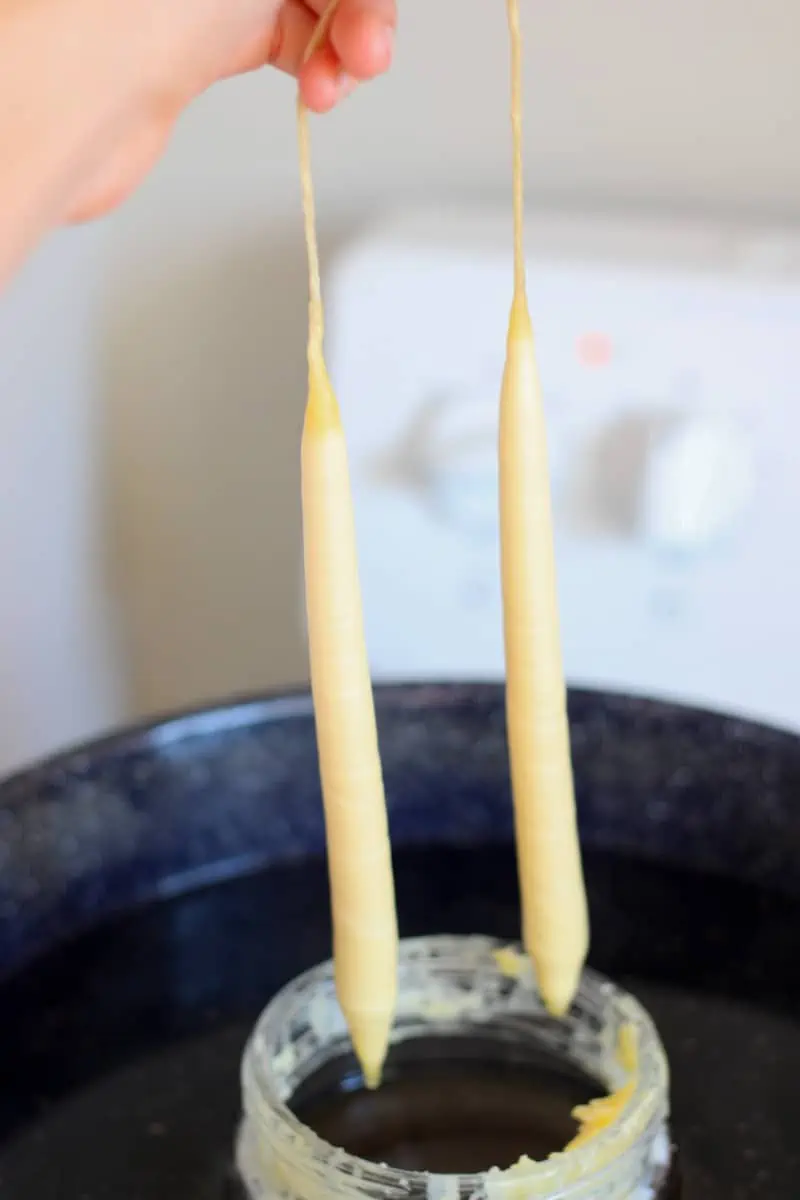
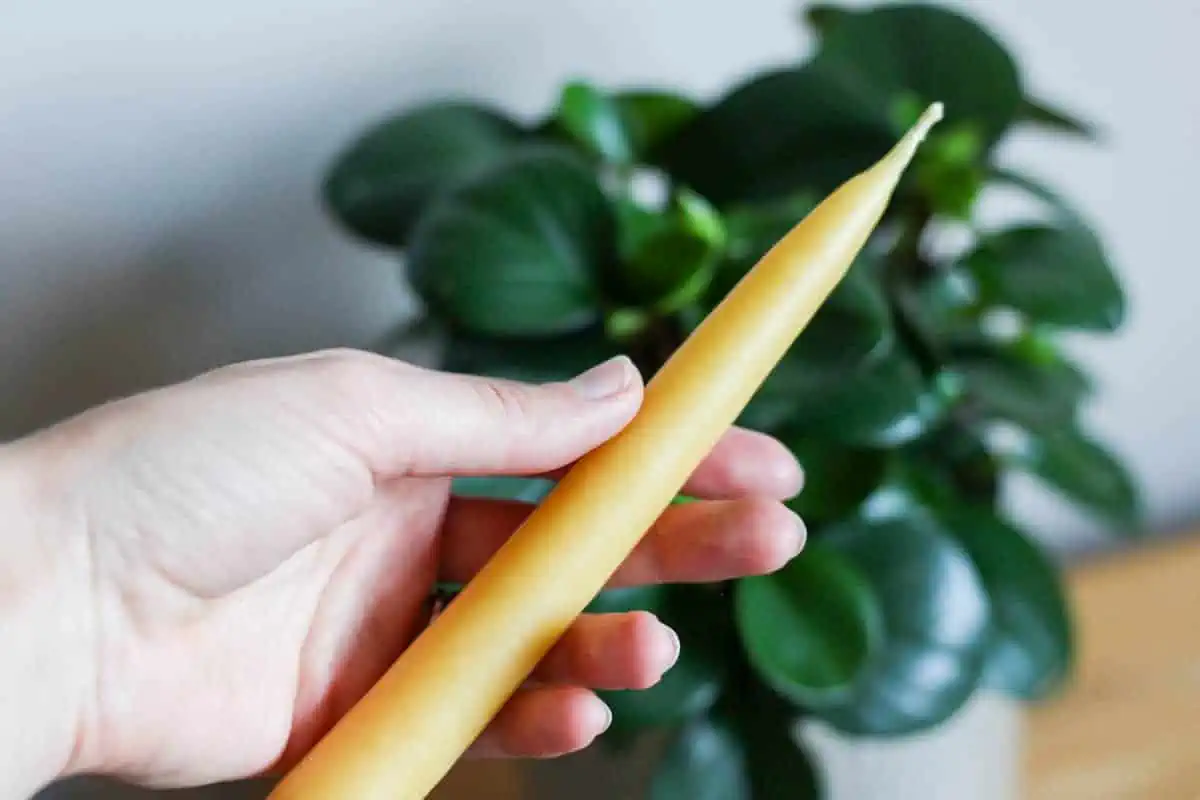
Once all your candles are cooled, trim the wicks to be about ¼ inch long.
See the section above on different things you can do with the leftover hot wax in your jar.
Bonus tip! You can use the wick that was in between the two candles for tealights or votive candles. It will be about 3½ inches long.
How to Store Hand-Dipped Candles
Beeswax candles should be kept in a container or bag in a cold, dark place when they aren't on display in your home.
Did you try this DIY? If so, I would really appreciate a 5-star rating and your comments below! Thanks!
Related Posts
More DIY Home Projects
- DIY Dollar Tree Wreath and Decorative Sphere
- How to Dry Flowers and Greenery
- DIY Glitter Vases
- How to Paint a Watercolor Sunflower
- Minimalist Christmas Wreath
📖 Recipe

Hand Dipped Beeswax Candles
Hand dipped beeswax candles are a beautiful way to surround your family with warmth and comfort during the cold winter months. They're a fun project and will save you money, versus buying good quality ones. They also make a wonderful gift for Christmas or birthdays!
Materials
- 3-4 lbs pure beeswax
- Cotton string (about 1mm thick)
- Small screws or nuts (to use as weights)
Tools
- Large pot
- Metal trivet (I use the one from my Instant Pot)
- Glass jar or metal container (that you can devote to using for melting wax)
- Large glass jar
- Tongs
- Laundry drying rack (optional, I used it to hang the candles to dry, but you could hang them somewhere else)
Instructions
- When you are preparing to make candles, remember that wax is very difficult to clean, so protect your surfaces for easier cleanup and designate the tools you are working with for wax use only, so you don't have to clean them perfectly.
- Prepare the area where you will hang the candles. I set up my laundry drying rack by my stove and wrapped the bars I would be hanging the candles on in a loose layer of foil. I wrapped the bars underneath in plastic wrap. I did this so if any wax dripped there it would be easy to clean up by removing the foil and wrap.
- Under the laundry rack, I placed a large piece of cardboard to catch any wax drips that made it to the floor. You could also protect the floor with some paper towels or more plastic wrap if you don't have cardboard.
Wicks:
- You don't need much wax for the first step of making the wicks. I use about ½ cup. If you're using a block of beeswax, cut it into small pieces and place them in your jar. If you're using beeswax pellets, you can just place them in the jar.
- Place your jar on the trivet in your pot. Fill your pot with water just over the level of the wax in the jar. The trivet keeps your jar away from direct heat, creating a double boiler effect and decreasing the chance the jar will crack.
- Carefully place the pot of water on a large burner and turn to medium heat.
- Prepare your string while the beeswax melts. The length will depend on how tall your container is and how long you want your candles to be. I cut my strings about 20 inches long. This was enough for two candles about 8 inches tall, plus about 4 inches for me to hold in the middle while dipping.
- Tie the screws to both ends of all your strings. This weighs down the strings which results in straight candles.
- When the wax is melted, drop all the strings in and allow them to soak for at least one minute.
- Grab the tongs and carefully pull out one string at a time, quickly hanging it on the prepared rack. Hang them in the middle so both sides are an equal length.
- The cotton candle wicks will set fairly quickly, but you will be able to straighten them out with your hands once set if need be.
Dipped Candles
- Add the rest of your wax to the jar. Add more water to the pot so that again, the water level is the same as the wax level in the jar. This may take a while to melt, especially if you're using chunks instead of pellets, so just keep that in mind.
- Fill a different large glass jar with cool water and place it in close proximity to your pot.
- Once the wax is fully melted, you can begin the candle making process.
- Take one wick string, holding it in the middle and dip it into the wax, straight down to the bottom of the jar, then pull it straight up. Immediately dip it in the same manner into the cold water.
- Repeat again, dipping in the wax, then water. Repeat this process 5-6 times, then use a knife or scissors to cut off the screw at the bottom of each candle. You no longer need it to weigh down the candle.
- Continue that back-and-forth dipping process until your candle is your desired thickness. Keep a taper candle holder close by so you can test to see if your candles fit snugly in.
- You will need to trim the bottom of your candles with a knife once or twice to flatten them so they can sit in the holder.
- Once you are happy with the size of the candles, place them again on your drying rack to cool completely. Move on to the next wicks.
- Once all your candles are cooled, trim the wicks to be about ¼ inch long.
Notes
Beeswax candles should be kept in a container or bag in a cold, dark place when they aren't on display in your home.
See the section above on different things you can do with the leftover hot wax in your jar.
Bonus tip! You can use the wick that was in between the two candles for tealights or votive candles. It will be about 3½ inches long.



Leave a Reply