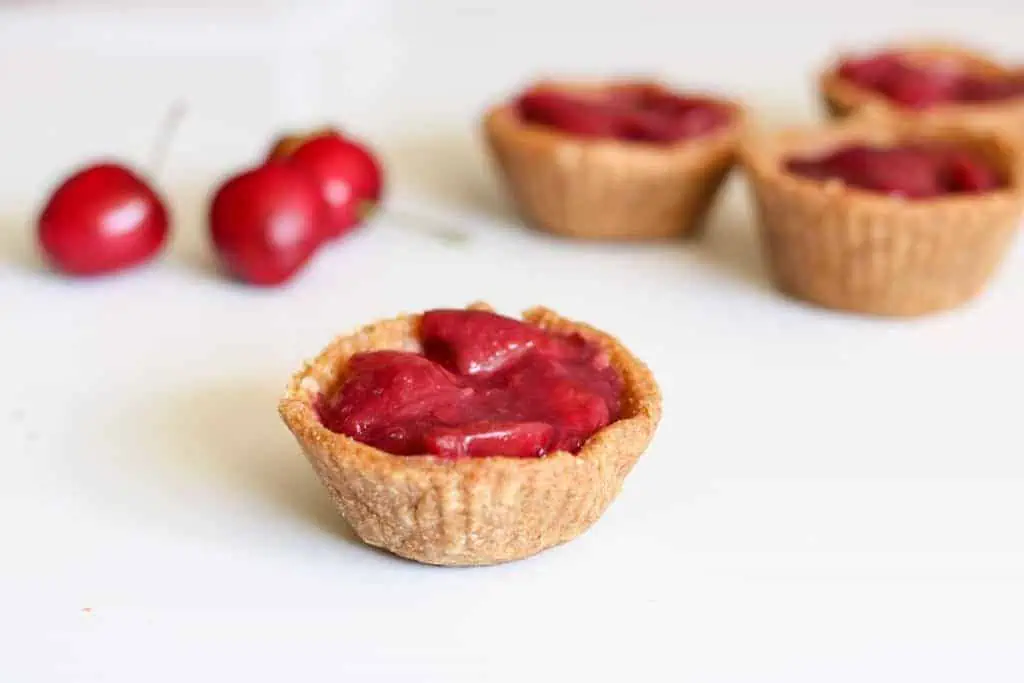
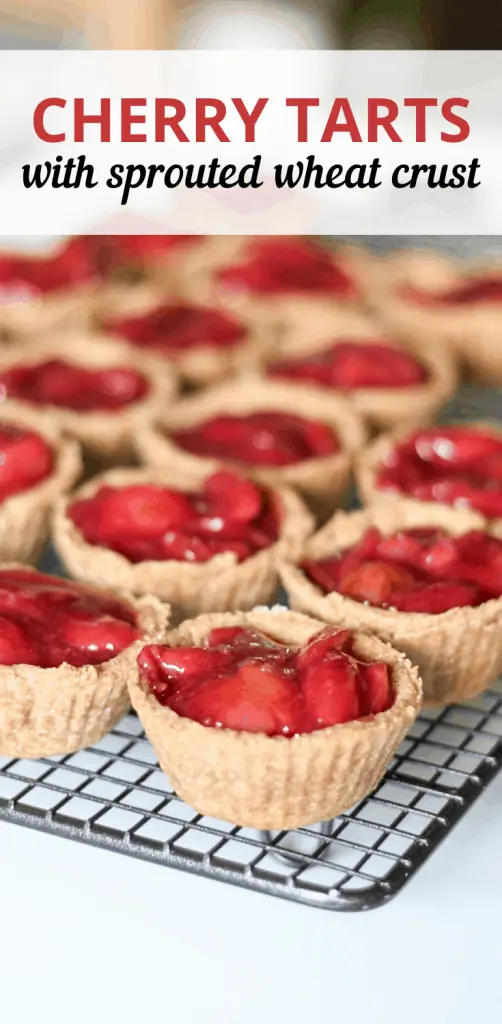
This from-scratch cherry tart recipe boasts a healthy, crispy sprouted wheat crust filled with juicy fresh cherries in a tangy, yet sweet sauce. A tasty summer treat to be enjoyed without guilt!
The summer heat is definitely here and I'm loving it and everything that comes with it! The sunshine, open windows, barbeques, frozen treats (these popsicles are my current favorite), camping, road trips and I could go on and on. Living through winters in Alberta, Canada certainly helps me to appreciate everything about summer!
Oh yeah and fresh fruit. The peaches, plums, strawberries, cherries and more brought from beautiful British Columbia and sold in fruits trucks almost everywhere you turn (not literally, but it feels like that!).
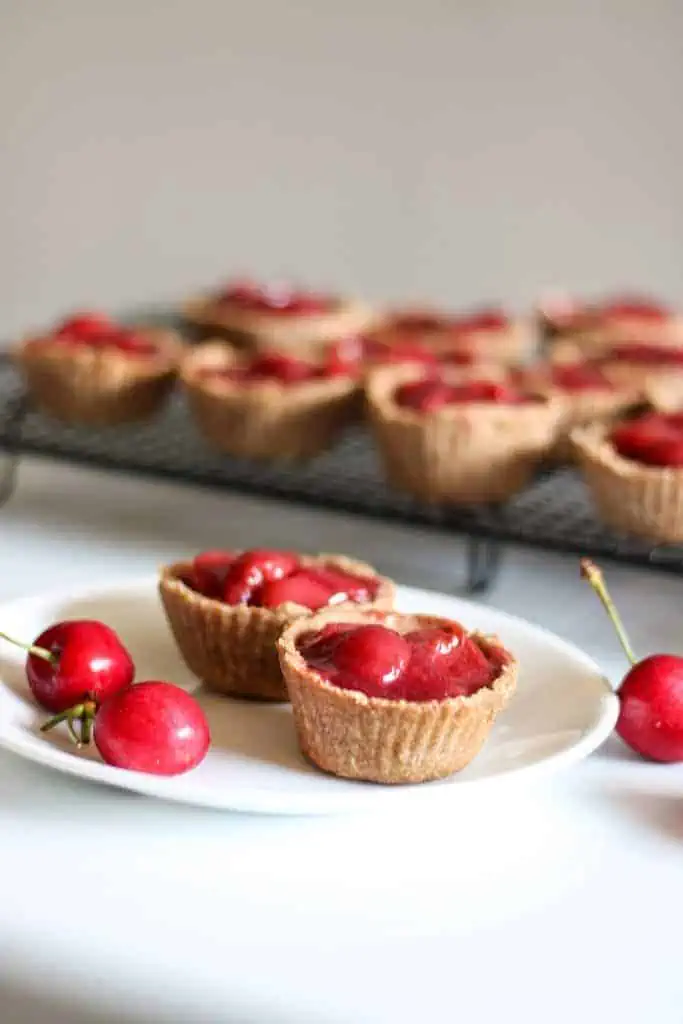
These mini cherry tarts are an easy, healthy, tasty treat to be enjoyed in these summer months when cherries can be purchased in abundance at a good price.
When is Cherry Pie Day?
You know how there seems to be a day for literally everything?? Cherry pie is no exception. Mark your calendars to enjoy some cherry pie every year on February 20! Or just eat it any other day. I don't need a reason to make and eat cherry pie or tarts!
Are Cherry Tarts Healthy?
Cherries are quite a healthy fruit with many vitamins, minerals, and lots of fibre and antioxidants. Because of these nutrients, they may reduce inflammation, prevent chronic disease and improve sleep!
This cherry tart recipe is made with minimal natural sweetener, so it's about as healthy as a treat can be! This is what I like to call a "guilt-free treat". For anyone accustomed to eating a lot of sugar, this filling may not be sweet enough. If this is the case for you, I ask you to try it and enjoy it even if it's not as sweet as you would like. By using less sweetener consistently, your taste buds will adjust and you will start to enjoy treats with less sugar. They will become sweet enough! It just takes time and consistency. You can do it and you'll be so glad you did!
Why Sprouted Wheat Crust?
Sprouted wheat flour is made by sprouting wheat berries, then drying and grinding them into flour. The sprouting process makes the nutrients in the wheat much more accessible to our bodies, as well as easier to digest. Learn more on how to make sprouted wheat flour from scratch and why it's a healthy option here.
This crust is very different from your average white flour pie crust. It's got more crunch and it is whole wheat, so don't expect the same flaky white crust that you may be used to! It's hearty, healthy and yes- enjoyable!

What Type of Cherry Should I Use?
I most often use sweet bing cherries, which are the most common to find in the store. You can use any variety of sweet cherries in this recipe, including lapins, chelan, tulare, rainier and lambert. If you opt to use sour cherries, you will likely need to add more sweetener. Luckily with this recipe, it's easy to taste and add more sweetener if needed.
Is This Cherry Tart Filling and Crust Gluten-Free?
The cherry tart filling is thickened with cornstarch, which is made from corn and is almost always gluten-free (just double check the label if you're celiac). All other filling ingredients are definitely gluten-free.
The crust is NOT gluten-free. Many people who have issues with gluten do digest sprouted wheat much more easily than white or whole wheat, but there is still gluten present in it. If you are celiac or gluten intolerant, you will need to use a different pie crust recipe that is gluten-free.
Is This Cherry Tart Recipe Vegan?
This tart filling and crust are 100% vegan as long as you use maple syrup and not honey as the sweetener.
Variations of Cherry Tart Recipe
- Use a large tart pan with a removable bottom instead of making mini tarts. If you do this, halving the crust recipe will give you adequate dough for the tart crust.
- Add ¼ teaspoon almond extract. Many people swear by this in a cherry pie, but I'm not the biggest fan, so I leave it out. You may love it though!
Tools You May Need
Cherry pitter or knife
Muffin tins (or cookie sheet with silicone muffin liners)
Cherry Tart Ingredients
Cherry Tart Filling
5 cups halved, pitted fresh cherries (about 2 lbs)
¼ cup filtered water
3 tablespoon cornstarch
1½ tablespoon lemon juice
3 tablespoon maple syrup or honey
¼ teaspoon vanilla extract
Sprouted Wheat Crust
2 cups sprouted wheat flour
1 teaspoon sea salt
½ cup filtered water
½ cup olive oil or melted coconut oil
Cherry Tart Recipe
The Cherry Filling
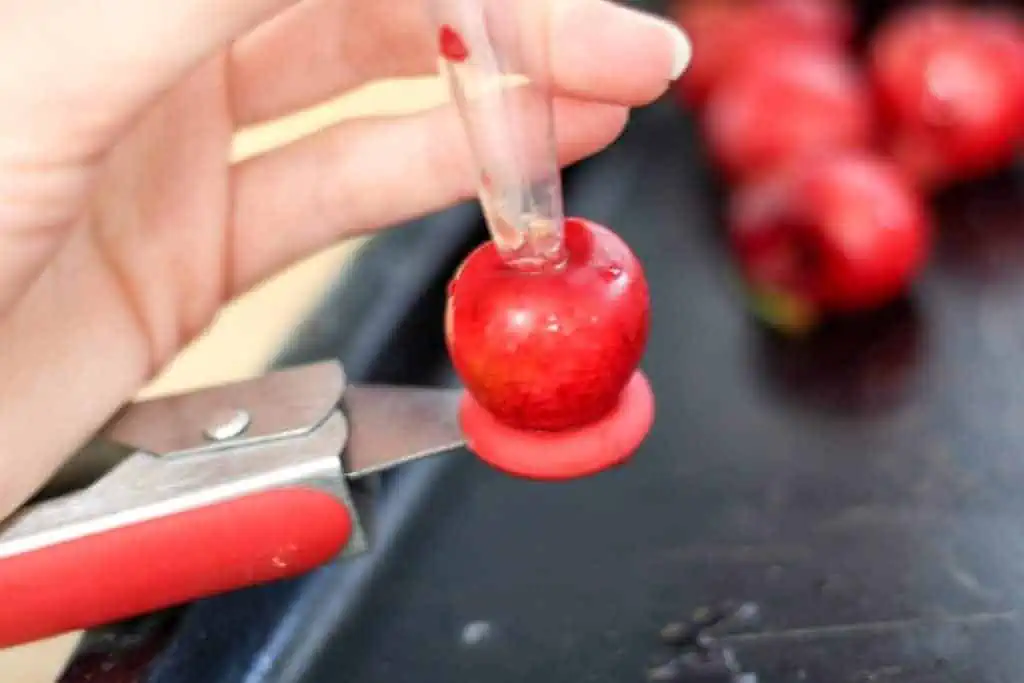
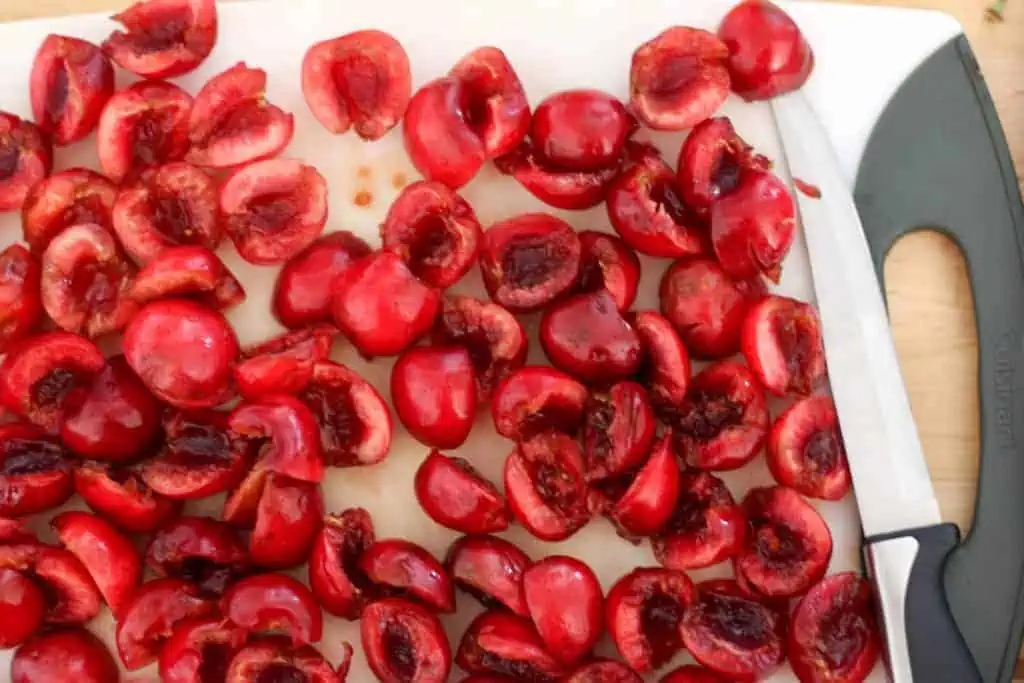
Pit and halve cherries. Don't have a cherry pitter? Me neither. There are actually lots of methods to pit cherries using common household items. Here's an article that explains 5 ways to do so. If you bake with cherries a lot, you may want to invest in a cherry pitter. It will definitely be the most efficient way to get the job done!
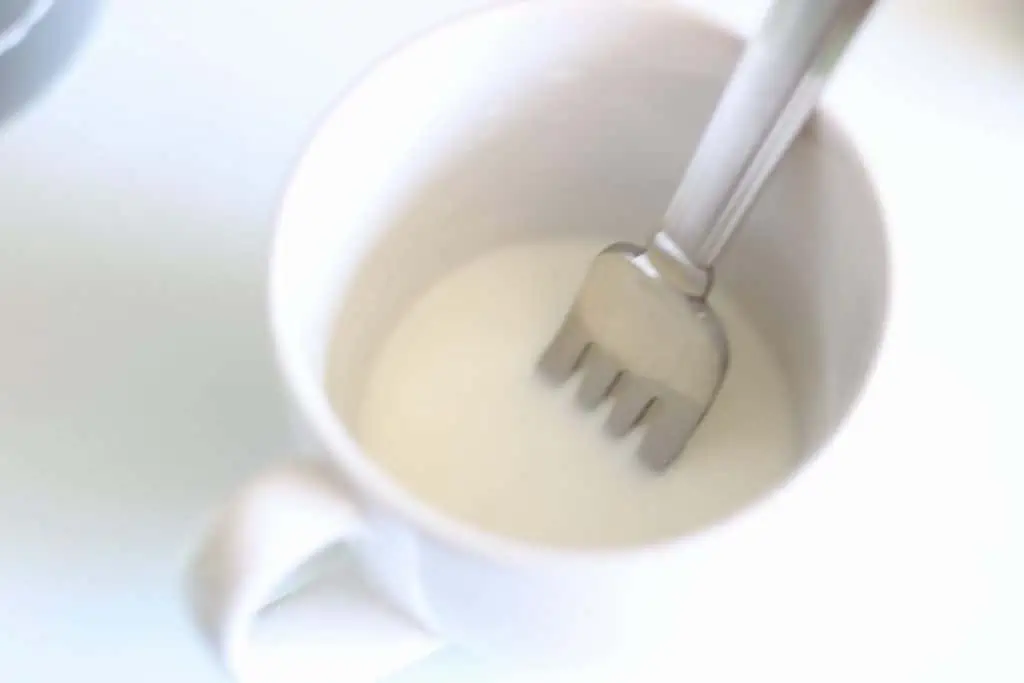
Whisk water and cornstarch together to make a cornstarch "slurry". Pour into a medium saucepan along with cherries, lemon juice, sweetener and vanilla.
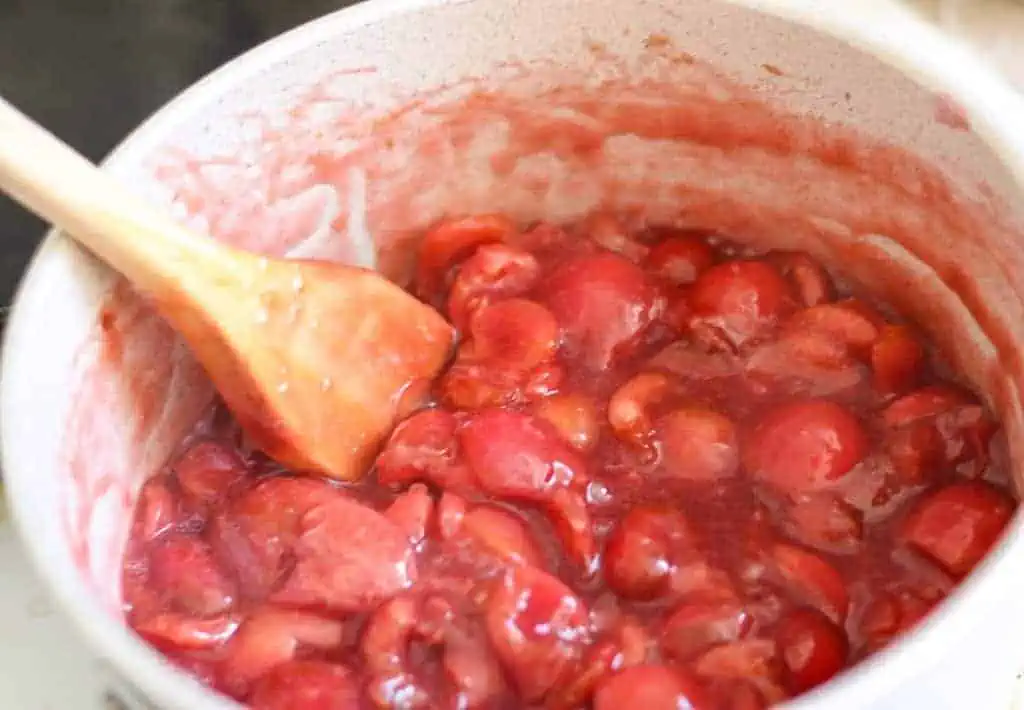
Heat over medium heat, stirring every few minutes. The cherries will soften and begin to release some juice. Continue to cook for a total of 15-20 minutes, or until the cherries are soft and the juice has thickened. Allow the filling to cool completely before filling tart shells.
The Sprouted Wheat Tart Shells
Prepare muffin tins by greasing with olive oil, butter or coconut oil. If using silicone muffin cups, place them on a baking sheet. There is no need to grease them.
Combine flour and salt in a mixing bowl. Add water and olive oil and mix with a wooden spoon until just combined.
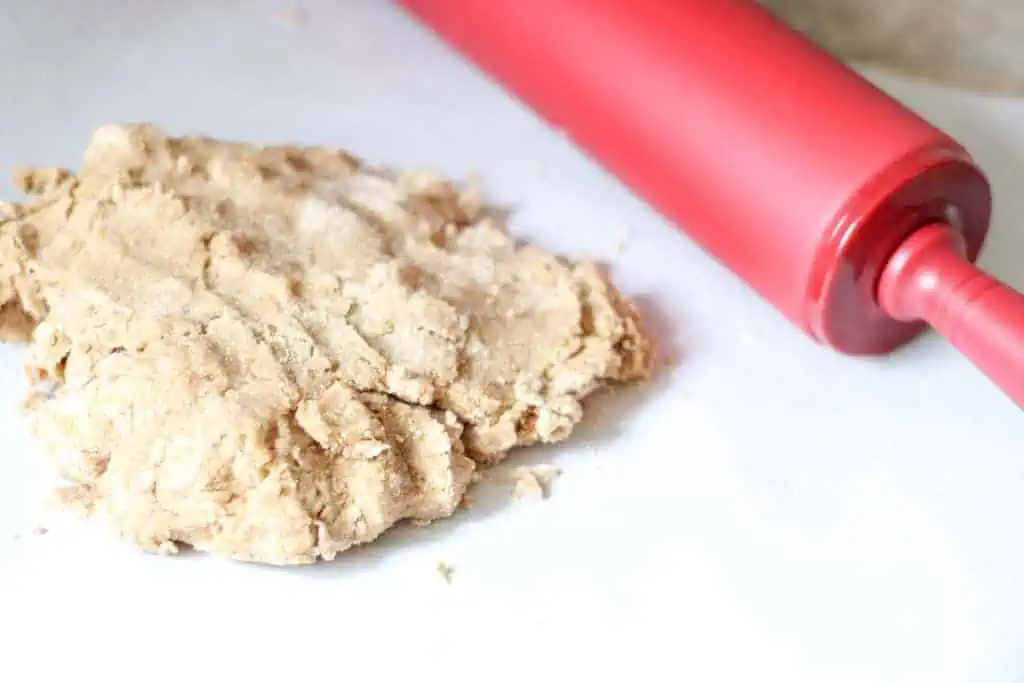
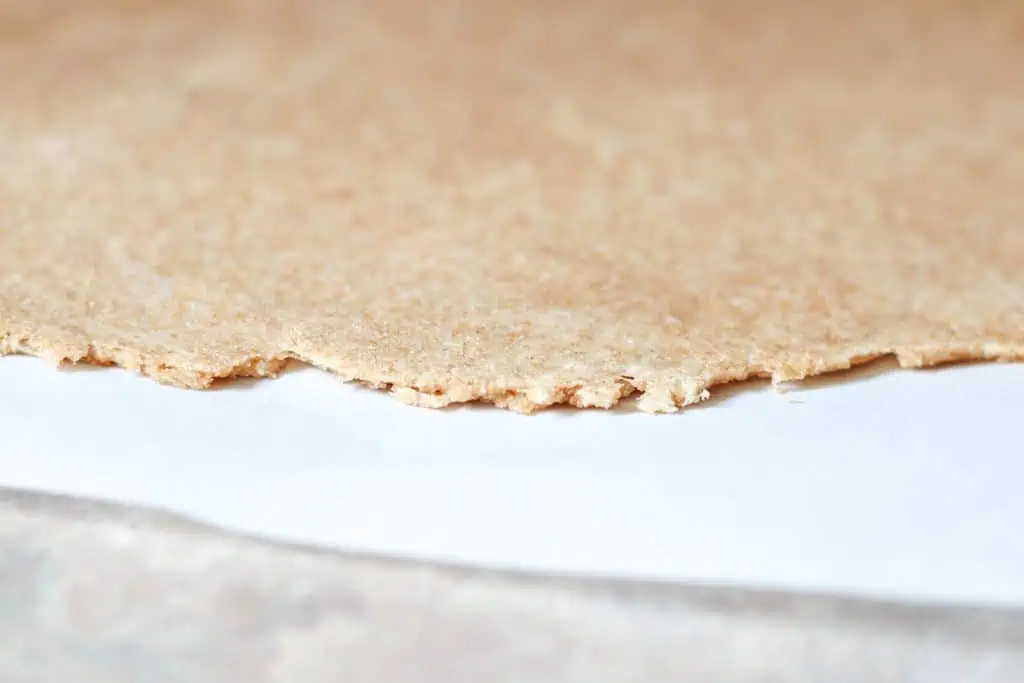
On a floured surface or parchment paper, roll the dough out to about ⅛ inch thick.
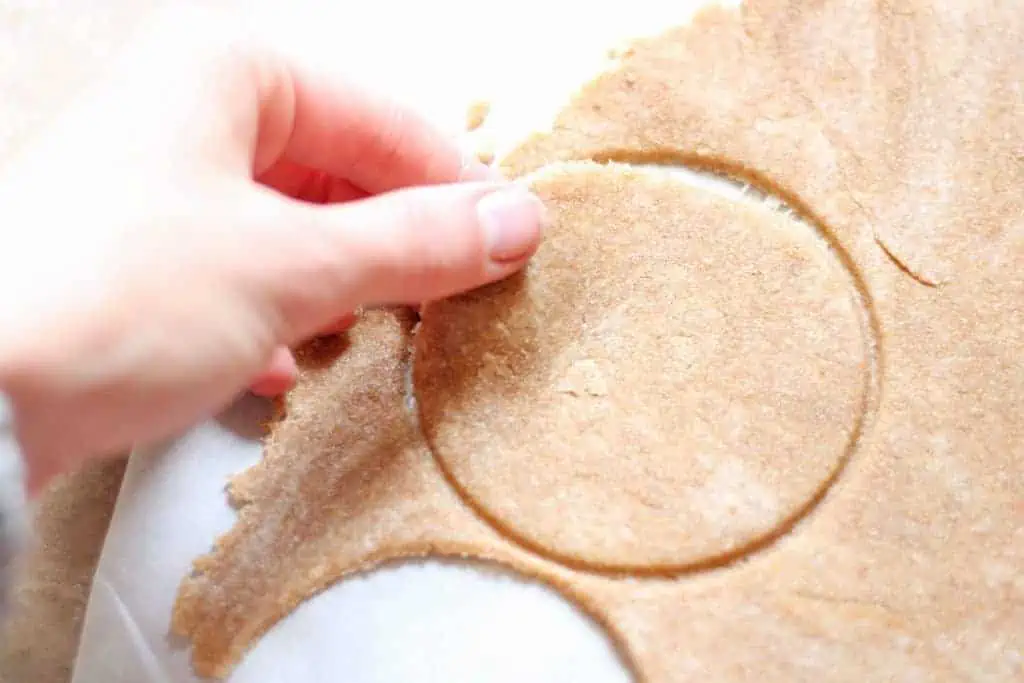
Using a glass or circular lid (the one I used measured 3 ¼ inches in diameter) to cut circles in the dough.
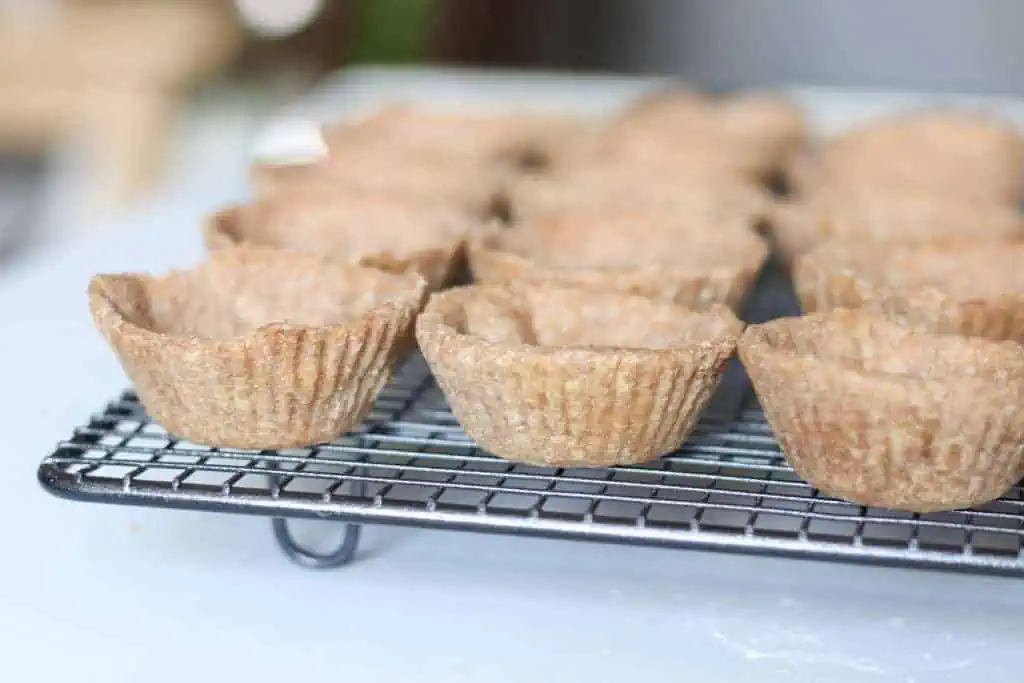
Place the dough into your muffin cups. Some of it will overlap and you can gently press it in to make the dough an even thickness.
Bake @ 350°F for 20 - 25 minutes. (You can definitely use pie weights to achieve the best looking tart crust, but I find it time-consuming and unnecessary.) The crust should be golden brown and firm to the touch. Remove from oven, place on wire rack and allow to cool completely before filling!
Put the Tarts Together!
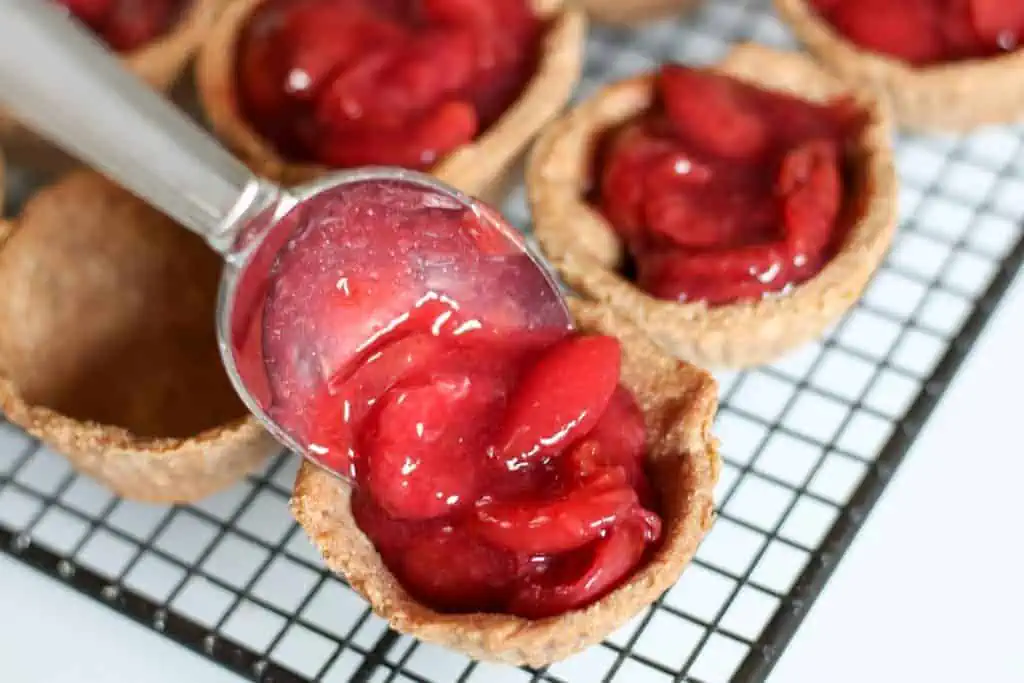
Fill each cooled tart shell with room temperature cherry mixture. Chill in the fridge for at least 1 hour to allow the filling to fully set and firm up. Enjoy on their own or topped with whipping cream or ice cream!
How to Store Cherry Tarts
Cherry tarts can be stored, covered, at room temperature for 2 days. Alternatively, they can be refrigerated in an airtight container for up to 5 days. You can also store cherry tarts in the freezer for up to 3 months. Wrap tarts in plastic wrap, then store in an airtight container or freezer bag. Just thaw overnight in the fridge before serving!
Did you try this recipe and love it? I would so appreciate it if you give it a 5 star rating and pin it to Pinterest!
More Guilt-Free Desserts
- KEY LIME PIE
- DAIRY-FREE CHOCOLATE PUDDING
- CHOCOLATE PEANUT BUTTER BANANA POPSICLES
- TOASTED COCONUT COOKIES WITH WHITE BEANS
- BLUEBERRY PIE
More Soaked & Sprouted Grains
- CREPES WITH ALMOND MILK AND SPROUTED WHEAT
- SOURDOUGH SANDWICH BREAD
- DAIRY FREE BLUEBERRY MUFFINS WITH SPROUTED WHEAT
- GERMAN PANCAKES MADE WITH SPROUTED WHEAT
- SPROUTED OATMEAL CHOCOLATE CHIP COOKIES
📖 Recipe

Cherry Tarts With Sprouted Wheat Crust
This from scratch cherry tart recipe boasts a healthy, crispy sprouted wheat crust filled with juicy fresh cherries in a tangy, yet sweet sauce. Enjoy these without guilt!
Ingredients
Filling
- 5 cups halved, pitted fresh cherries (about 2 lbs)
- ¼ cup filtered water
- 3 tablespoon cornstarch
- 1½ tablespoon lemon juice
- 3 tablespoon maple syrup or honey
- ¼ teaspoon vanilla extract
Crust
- 2 cups sprouted wheat flour
- 1 teaspoon sea salt
- ½ cup filtered water
- ½ cup olive oil or melted coconut oil
Instructions
Filling
- Pit and halve cherries.
- Whisk water and cornstarch together to make a cornstarch "slurry". Pour into a medium saucepan along with cherries, lemon juice, sweetener and vanilla.
- Heat over medium heat, stirring every few minutes. The cherries will soften and begin to release some juice. Continue to cook for a total of 15-20 minutes, or until the cherries are soft and the juice has thickened.
- Allow the filling to cool completely before filling tart shells.
Crust
- Prepare muffin tins by greasing with olive oil, butter or coconut oil. If using silicone muffin cups, place them on a baking sheet. There is no need to grease them.
- Combine flour and salt in a mixing bowl. Add water and olive oil and mix with a wooden spoon until just combined.
- On a floured surface or parchment paper, roll the dough out to about ⅛ inch thick. Using a glass or circular lid (the one I used measured 3 ¼ inches in diameter) to cut circles in the dough. Place the dough into your muffin cups. Some of it will overlap and you can gently press it in to make the dough an even thickness.
- Bake @ 350°F for 20 - 25 minutes. (You can definitely use pie weights to achieve the best looking tart crust, but I find it time-consuming and unnecessary.) The crust should be golden brown and firm to the touch.
- Remove from oven, place on wire rack and allow to cool completely before filling!
Put It Together!
- Fill each cooled tart shell with room temperature cherry mixture.
- Chill in the fridge for at least 1 hour to allow the filling to fully set and firm up.
- Enjoy on their own or topped with whipping cream or ice cream!
Notes
Cherry tarts can be stored, covered, at room temperature for 2 days.
They can be refrigerated in an airtight container for up to 5 days.
You can also store cherry tarts in the freezer for up to 3 months. Wrap tarts in plastic wrap, then store in an airtight container or freezer bag. Just thaw overnight in the fridge before serving


chey says
These look amazing! Great tip on how you pitted the cherries as well. I did not know about cherry pie day, but I'm certainly glad to know about it now. Another day to celebrate! Thanks for the inspiration!
thehomeintent says
Yes, just another reason to eat delicious cherry desserts!!
Susan says
These look so wholesome and delicious! I love your hack for a homemade cherry potter too!
thehomeintent says
Thanks, Susan. It was definitely an "I don't want to use a knife, but what the heck could I use??" situation, but it worked out great! Haha
Melinda says
I would love to consume these asap! Thanks for the recipe <3
thehomeintent says
Thanks, Melinda. I just finished eating a batch and I'm already looking forward to the next time I make them!
Ada says
This looks so delicious! I like how you prepare the cherries. Thank you for sharing!
thehomeintent says
Thanks a lot, Ada!
Michelle says
I love that these are mini so I can eat 12 of them in one sitting! Looks delicious, and now I have to go get some cherries!
thehomeintent says
I know, right? It's so easy to eat a lot of mini things, that's why I prefer them to be guilt-free!!